亿德体育
Case


亿德体育
Product
新闻中心
news
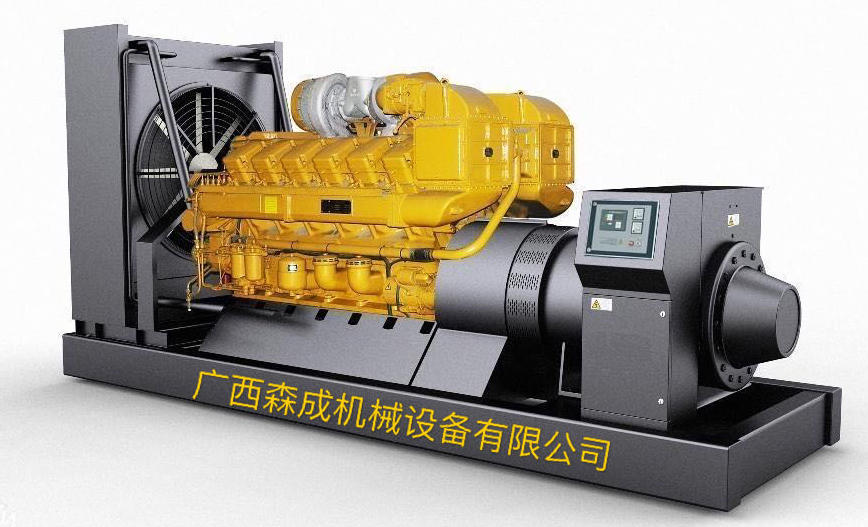
柴油发电机组用分配器的压缩空气启动如何呢
2020-06-18
为用空气分配器的压缩空气启动系统示意图。它由手扳压气机、贮气瓶、启动控制阀、启动阀、空气分配器、充气阀及安全阀等组成。(1)压缩空气启动过程柴油机启动时,打开空气瓶....
more
-
182020-06柴油发电机组的维护保养方法第一,电池组的检查。认真检查相关部件,由于备用电源不是经常投入使用,发电机是否能正常启动,关键在于电池的维护保养。如电池组出现了问题,比较常见的情况是:有电压无电流,这时可以
-
182020-06柴油发电机组用分配器的压缩空气启动如何呢为用空气分配器的压缩空气启动系统示意图。它由手扳压气机、贮气瓶、启动控制阀、启动阀、空气分配器、充气阀及安全阀等组成。(1)压缩空气启动过程柴油机启动时,打开空气瓶
-
182020-06康明斯发电机价格多少?不同配置、功率的康明斯发电机价格不同:1、功率大小不同功率的康明斯发电机价格不同。用户在选择发电机组功率的时候要提前让电工给核算或者让厂家给选择适合功率的发电机组
-
182020-06柴油发电机组是由哪些部分组成的?1.机座:用于安装交流发电机、发动机及冷却系统,需要具有良好防震性能,这是因为柴油发电机组在工作时,会有很大的震动,因此,底座要有一定的防震性。 2.发动机:发动机一定是四
公司简介
ABOUT US
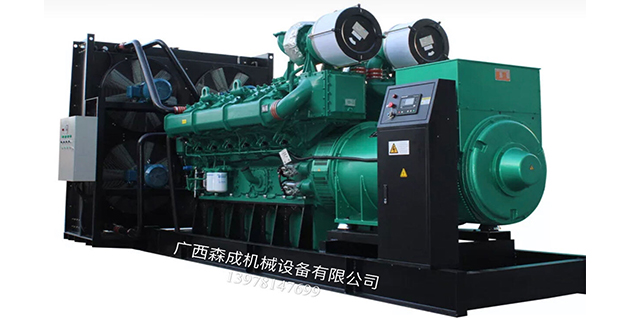
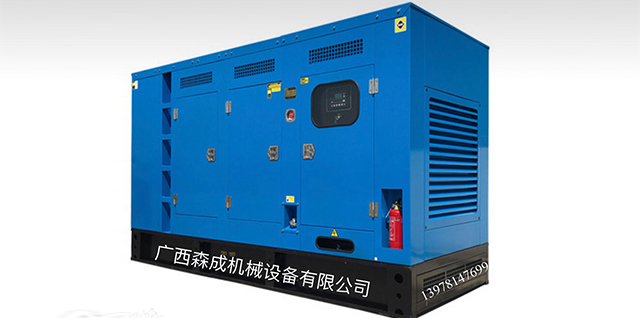
亿德官方网站是一家专门以生产、组装、销售、研发柴油发电机组的厂家。
森成发电设备为需要发电机组的企事业单位提供机组的合理配置、安装环境指导、基本价格指导等,以贴心服务维护消费者的利益。
目前和国内外多家资深柴油机和发电机生产厂家合作,提供充足货源,实行合理的低价位保证物有所值,为客户提供一系列的柴油发电机组选购方案,让客户购买放心柴油发电机组。
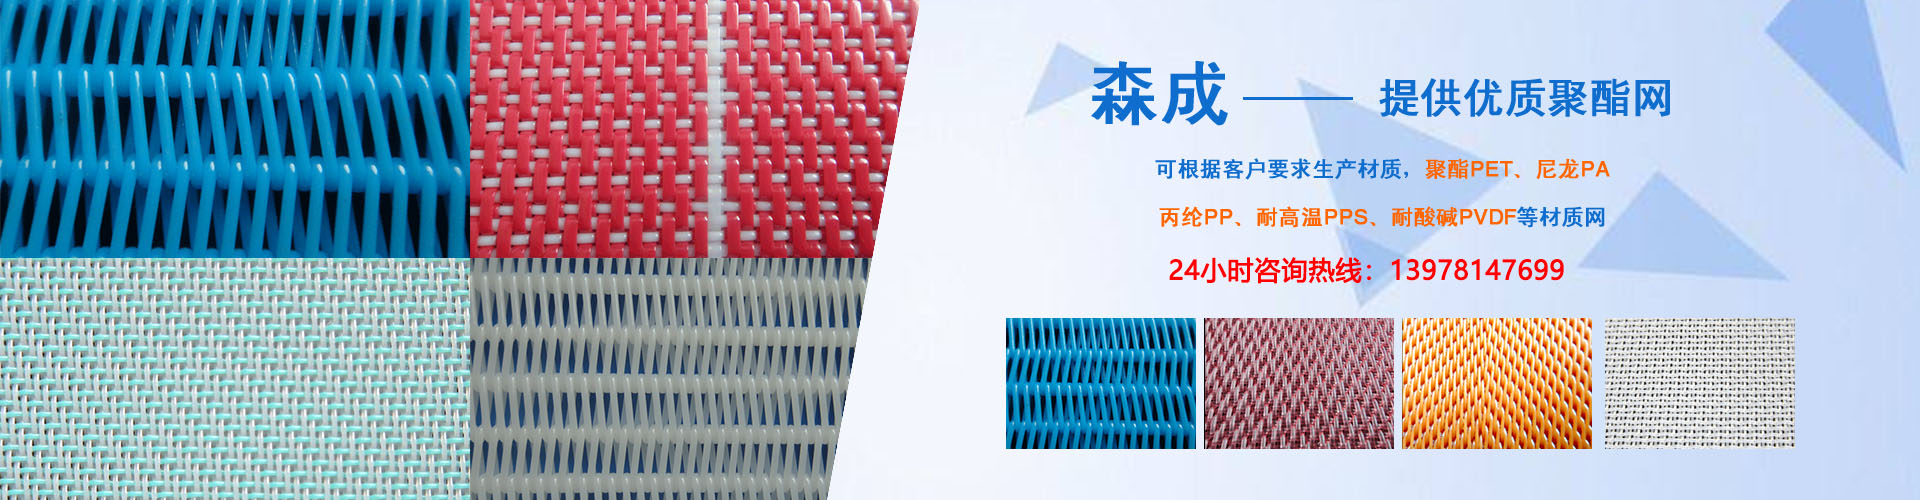
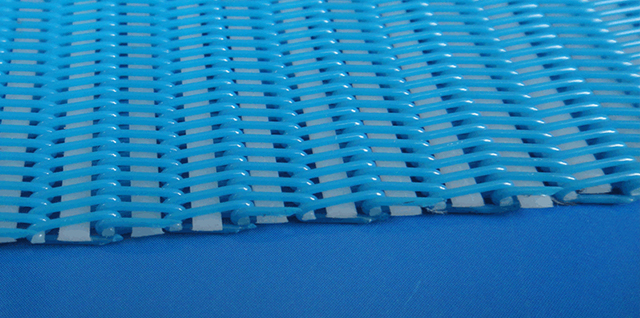
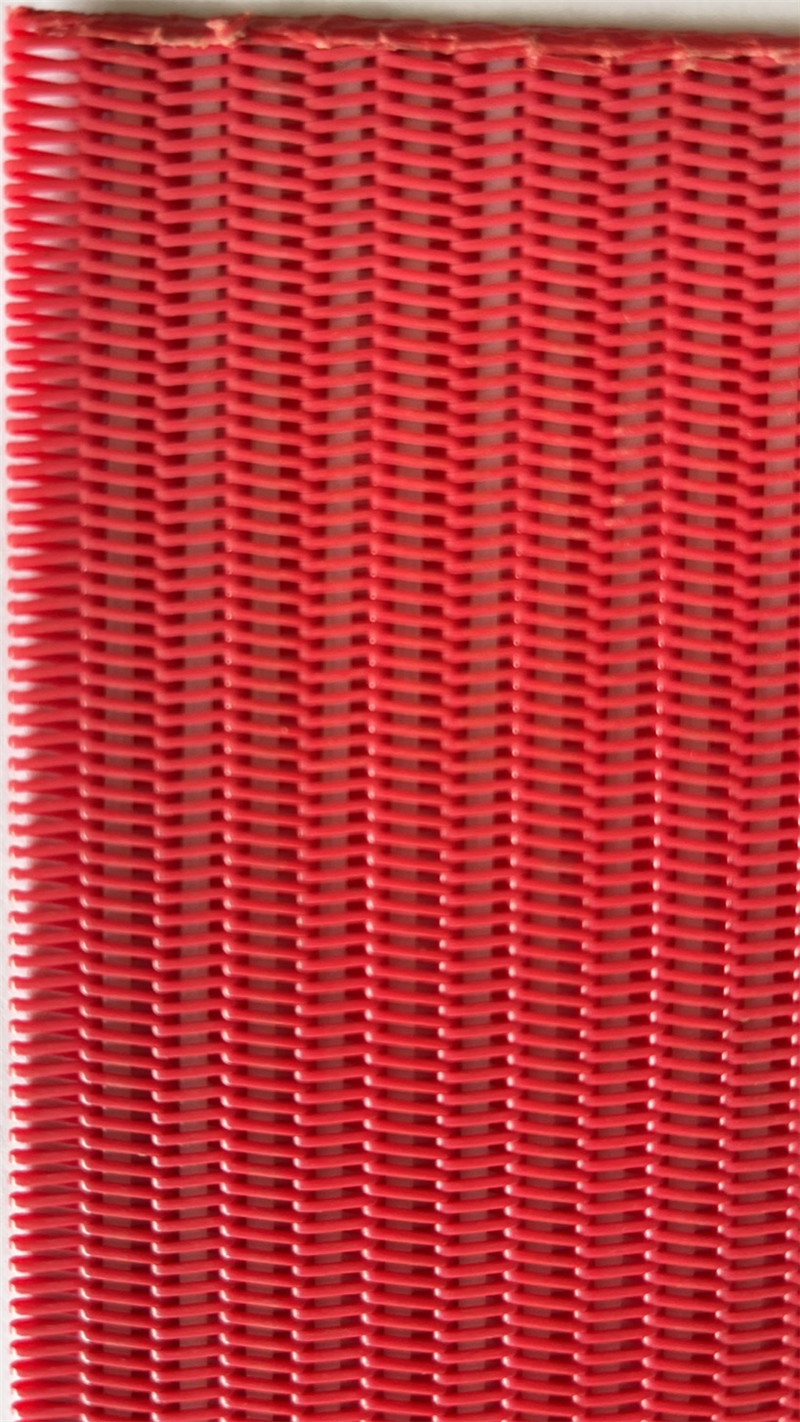
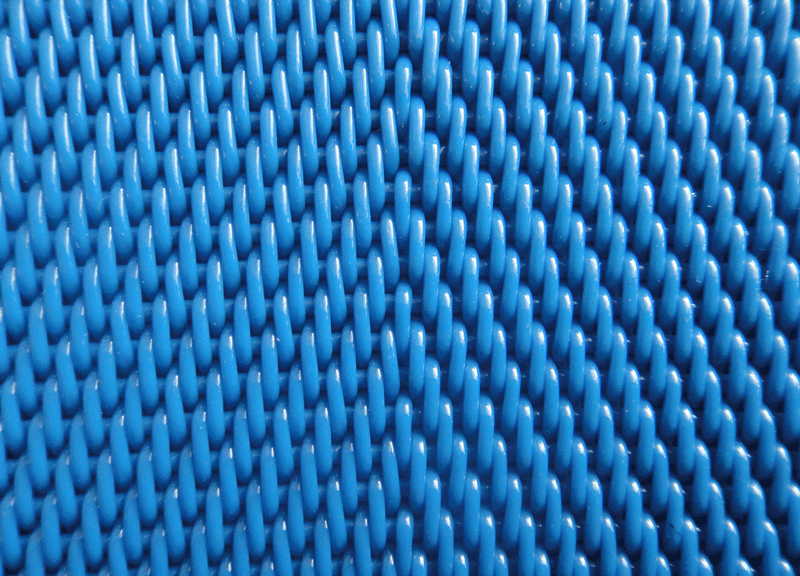
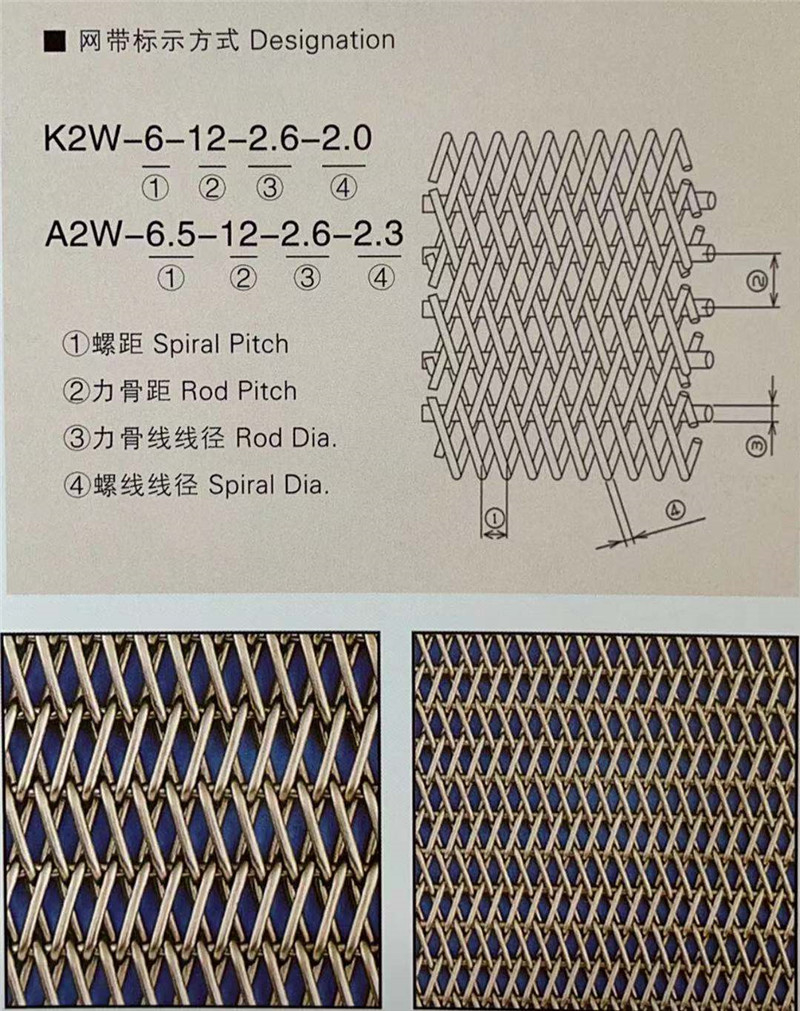
同时主导产品还有:聚酯成型网,聚酯平织干网、聚酯螺旋干网、聚酯铜丝抗静电网,主要用于造纸、环保、印染、洗煤、石油化工、制药、食品烘干、人造板厂、冶金、电厂脱硫、矿业、发酵等行业。公司产品具有耐酸碱、耐高温、滤水好、透气好、尺寸运行稳定的特点,凭质优价廉及优良的售前、售后服务畅销国内还可以根据用户要求生产各种规格型号的特殊用网,其长度、宽度、密度可根据用户要求临时确定,产品质量上乘,在广大客户中享有很高的声誉。
我们一直本着"以诚至信,共步辉煌"的企业精神,愿尽所能为您提供超值的产品,完美的服务,与您携手共建的美好未来!也郑重承诺:不让任何一个不合格产品出厂,保证不让任何一个客户受损,严格遵守合同规定,在合同规定的期限内随叫随到,即到即修,坚决做到"说到,做到,更周到"。确保我公司生产的柴油发电机组及聚酯网运行正常,确保用户买得放心,用的称心。


